
Custom Terminals and User Interface (UI) in Windows Terminal
One terminal to rule them all
Windows Terminal is a brand-new terminal app that runs on Windows 10 and supports multiple configurations. It was first announced in May of 2019.
You can grab it from the Windows Store. If you’re more pioneering and want to build it yourself or integrate it in your own applications, it is an open source project that you can access from the following repository:
Windows Terminal has a lot of great features, but my two favorites are the ability to host sessions in tabs and customize the look, feel, and terminals that are available. After downloading and launching the terminal, simply hit CTRL+, to open the settings in your default JSON editor. Edit and update, and the terminal will refresh automatically when you save. Out of the box, mine looked something like this:
{
    // Make changes here to the powershell.exe profile
    "guid": "{a guid goes here}",
    "name": "Windows PowerShell",
    "commandline": "powershell.exe",
    "hidden": false
},
{
    // Make changes here to the cmd.exe profile
    "guid": "{a guid goes here}",
    "name": "cmd",
    "commandline": "cmd.exe",
    "hidden": false
}
The first thing I did was customize my PowerShell terminal to provide a large, visible font size. I simply added:
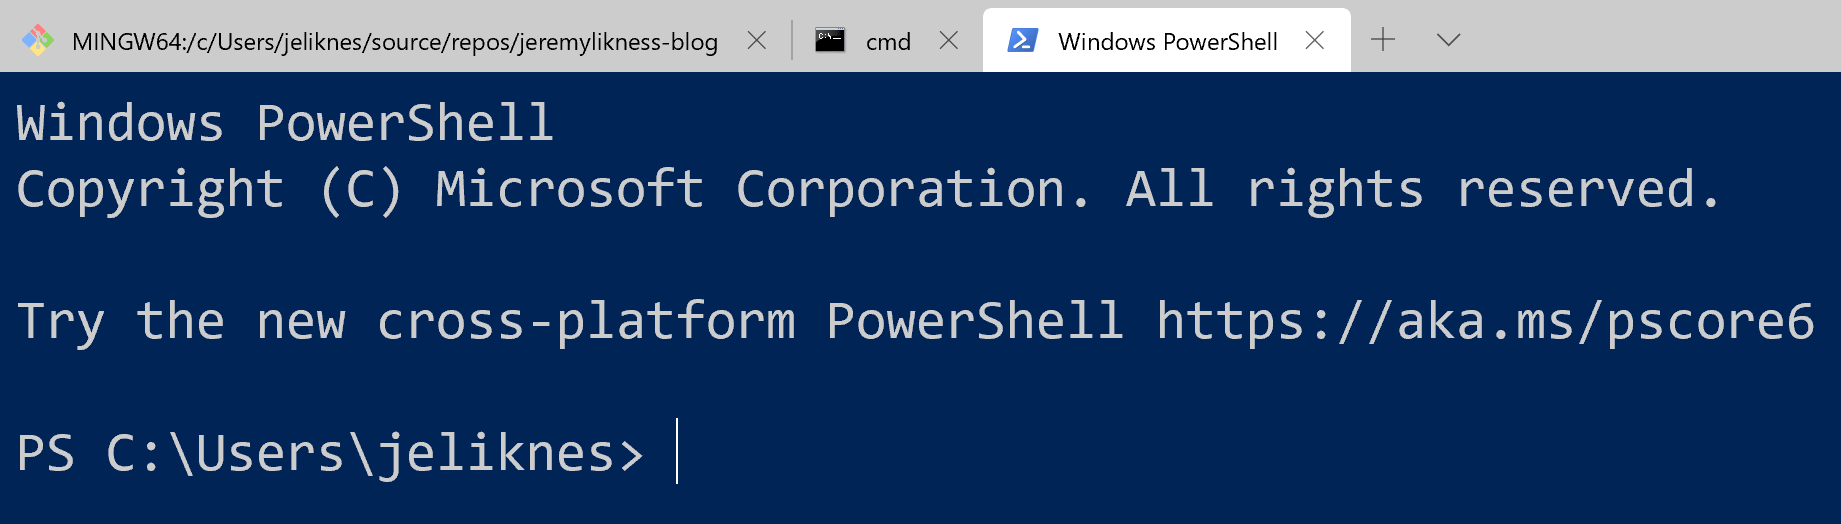
"fontSize": 20
The resulting terminal is shown below. I’m on PowerShell 5.1 but it is kind enough to prompt me for the newer, cross-platform “Core” version.
Next, I found an image of a circuit board and added a few lines to customize my Windows Command Line experience. I added these properties:
{
    "guid": "{a guid goes here}",
    "name": "cmd",
    "commandline": "cmd.exe",
    "hidden": false,
    "backgroundImage": "C:\\Users\\jeliknes\\Documents\\Icons\\circuitbackground.jpg",
    "backgroundImageOpacity": 0.1,
    "fontSize":  20
}
This gives me a light background and larger font size, presenting this cool effect:
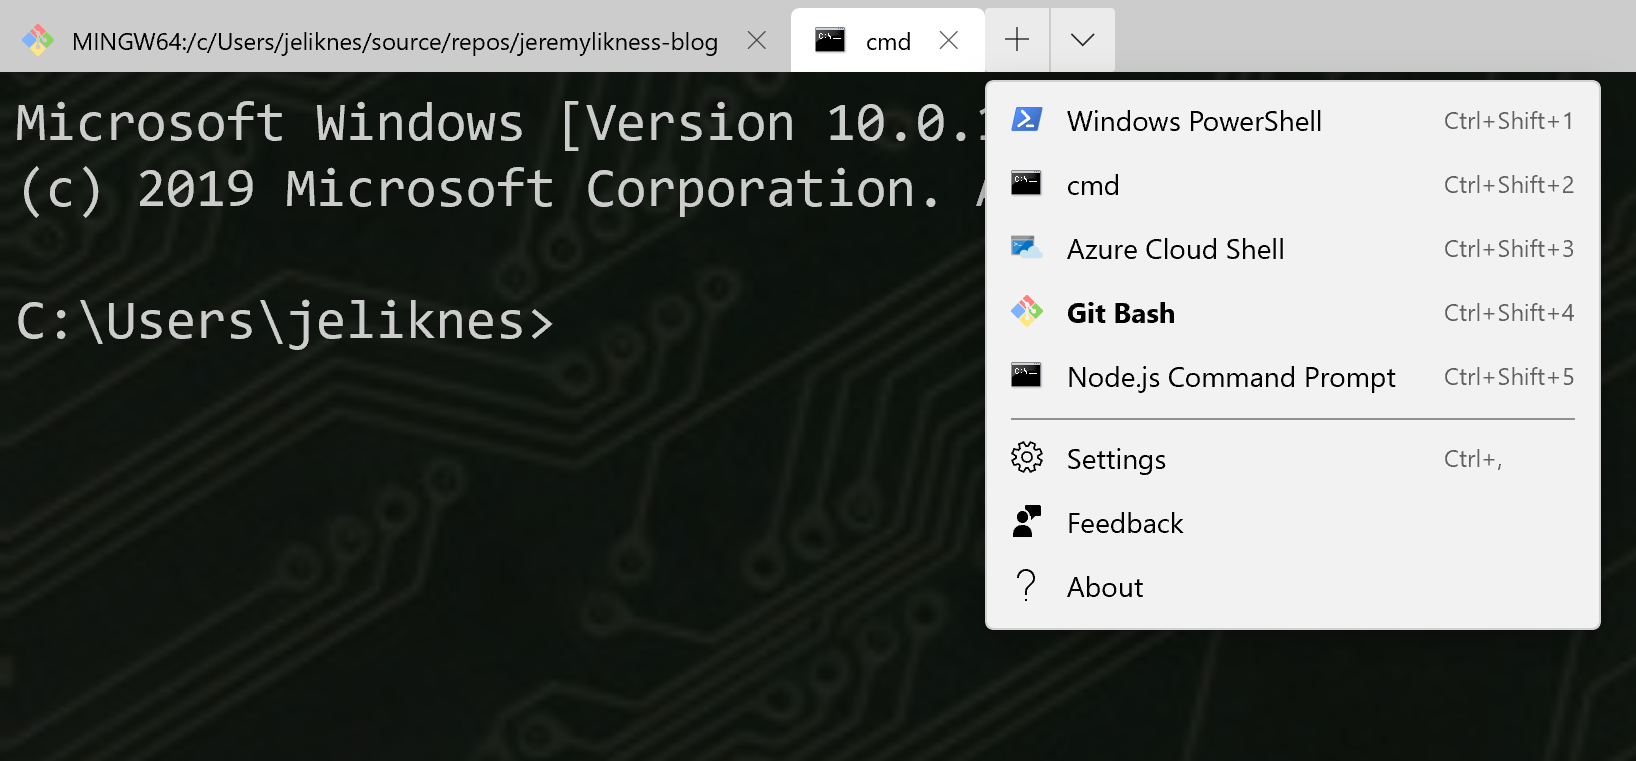
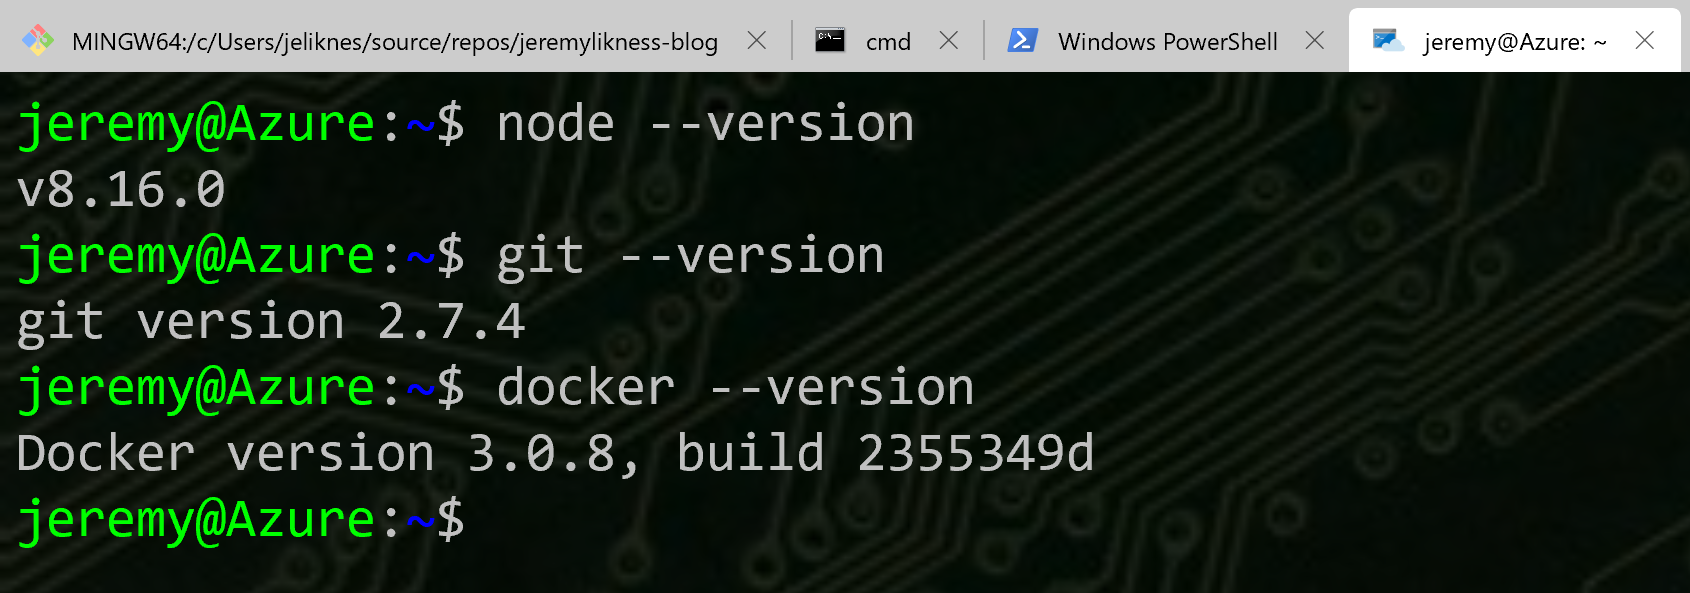
As you may have noticed, I have quite a few more terminals configured. I did a little bit of online research to figure out how to add the other terminals. To work with Azure resources in a shell that comes pre-installed with tons of developer tools (including its own version of Visual Studio Code) that is frequently updated without me having to do a thing, I configured Azure Cloud Shell. There are a million ways to generate the necessary GUID, here’s one that uses .NET Fiddle: get a GUID.
{
    "guid": "{a guid goes here}",
    "hidden": false,
    "name": "Azure Cloud Shell",
    "source": "Windows.Terminal.Azure",
    "backgroundImage": "C:\\Users\\jeliknes\\Documents\\Icons\\circuitbackground.jpg",
    "backgroundImageOpacity": 0.15,
    "fontSize": 20,
    "useAcrylic":  false
}
Notice the source property. It is a built-in feature of Windows Terminal. I tweaked the background and set acrylic to false to avoid wash-out when the terminal is selected. This is me showing off the versions of some of the pre-installed clients.
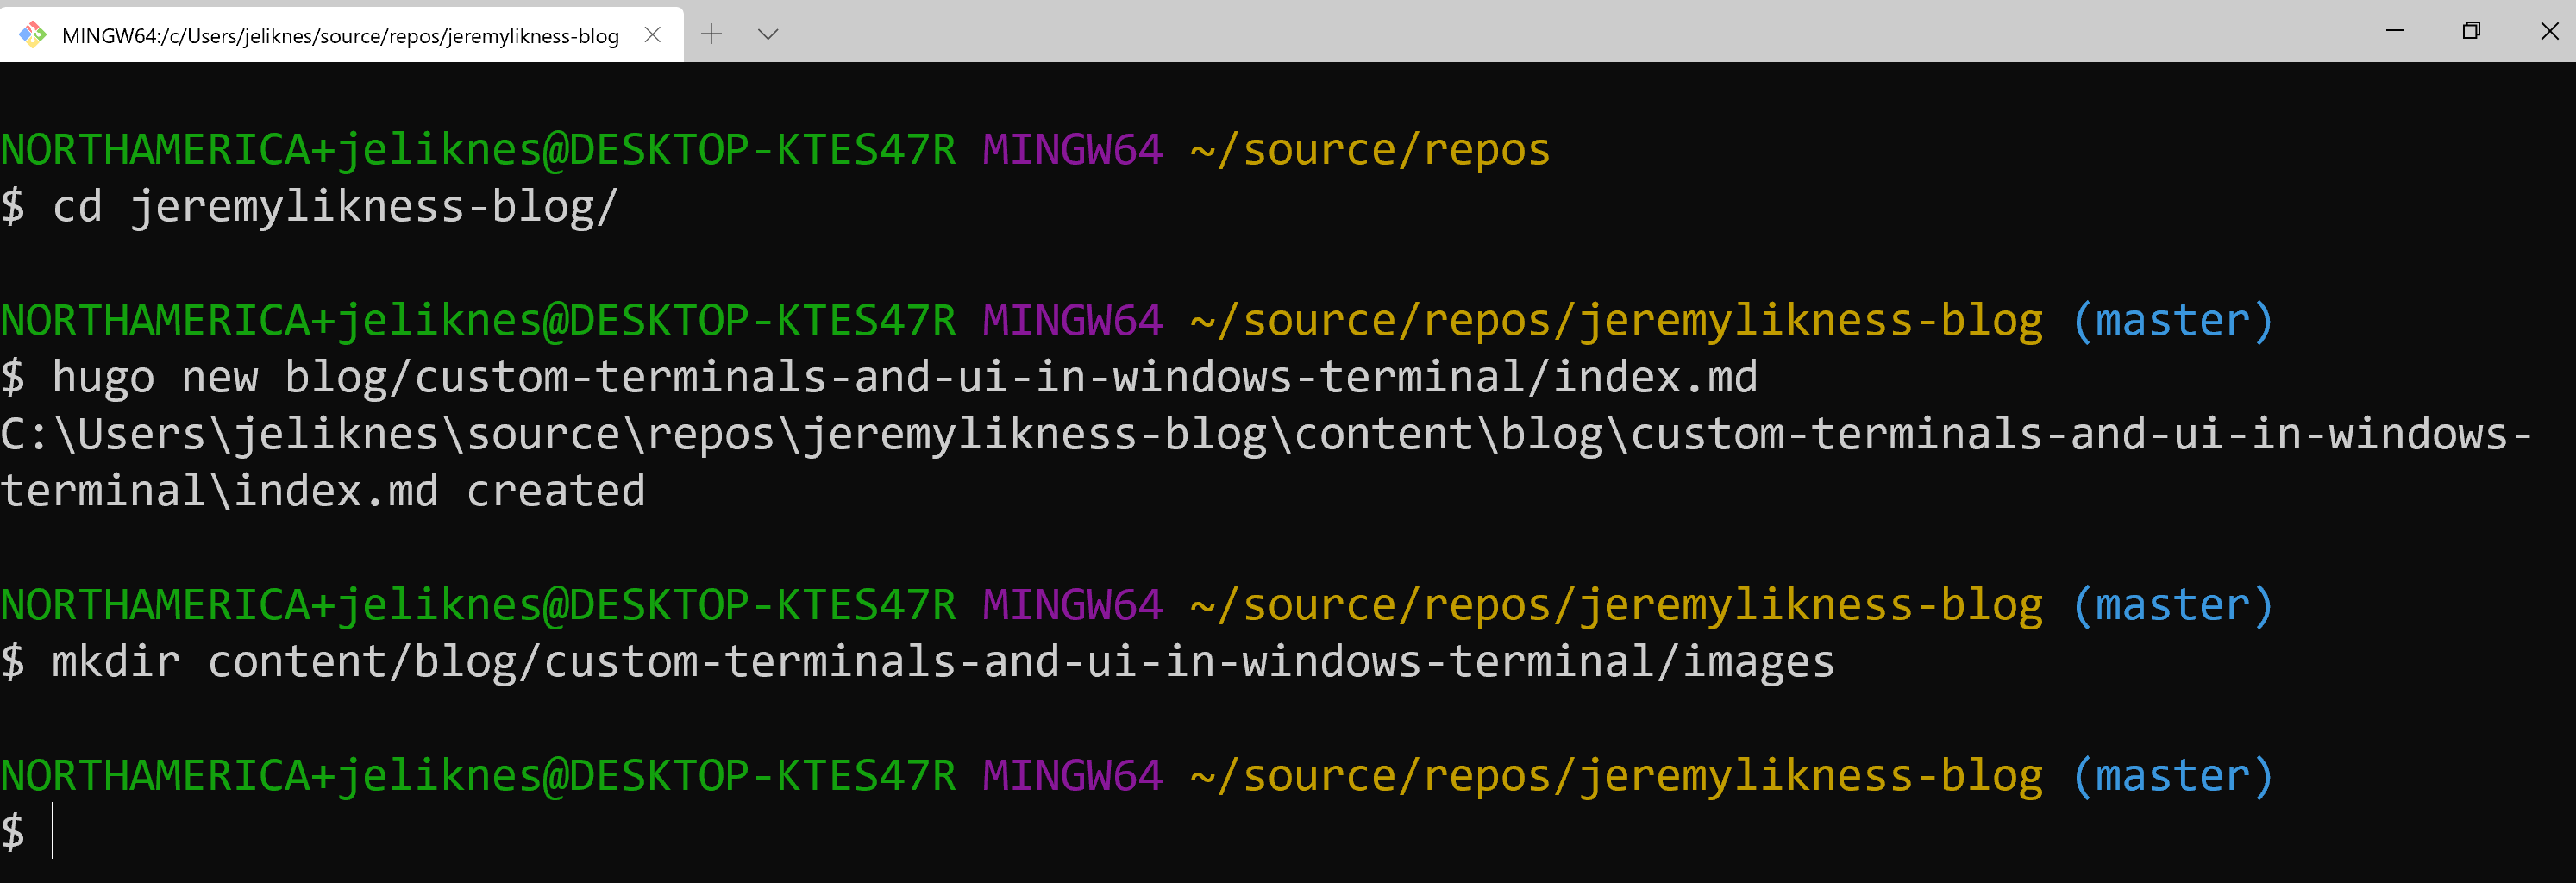
Next in line? My favorite shell on Windows is bash. This was a bit more involved. The commandline is a full path with a flag to start in my home directory. I also did some searching to find the icon so it would display correctly in the menu. Finally, I have a few other settings that were quite frankly “borrowed” from a configuration that I found online. By all means, please “pay it forward” and feel free to borrow from my settings.
{
    "closeOnExit": true,
    "colorScheme": "Campbell",
    "commandline": "C:\\Program Files\\Git\\bin\\bash.exe --cd-to-home",
    "cursorColor": "#FFFFFF",
    "cursorShape": "bar",
    "fontFace": "Consolas",
    "icon": "C:\\Program Files\\Git\\mingw64\\share\\git\\git-for-windows.ico",
    "historySize": 9001,
    "name": "Git Bash",
    "padding": "0, 0, 0, 0",
    "snapOnInput": true,
    "startingDirectory": "%USERPROFILE%",
    "useAcrylic": false,
    "fontSize": 20,
    "guid": "{a unique guid here please}"
}
This is me using the shell to create the template for this blog post:
Last, but certainly not least, I wanted an option with environment variables configured for me to work with Node.js from the command line. The JSON looks like this. The GUID I kept there is important because it’s the unique identifier for the command prompt icon that I “borrowed” for this setting. Notice it’s a simple command prompt that launches a batch file to configure environment variables. I reverse-engineered the installed shortcut to figure that one out.
{
"name": "Node.js Command Prompt",
"commandline": "cmd.exe /k \"c:\\Program Files\\nodejs\\nodevars.bat\"",
"startingDirectory": "%USERPROFILE%",
"hidden": false,
"fontSize": 20,
"icon": "ms-appx:///ProfileIcons/{0caa0dad-35be-5f56-a8ff-afceeeaa6101}.png",
"guid": "{get your own}",
"backgroundImage": "C:\\Users\\jeliknes\\Documents\\Icons\\circuitbackground.jpg",
"backgroundImageOpacity": 0.1
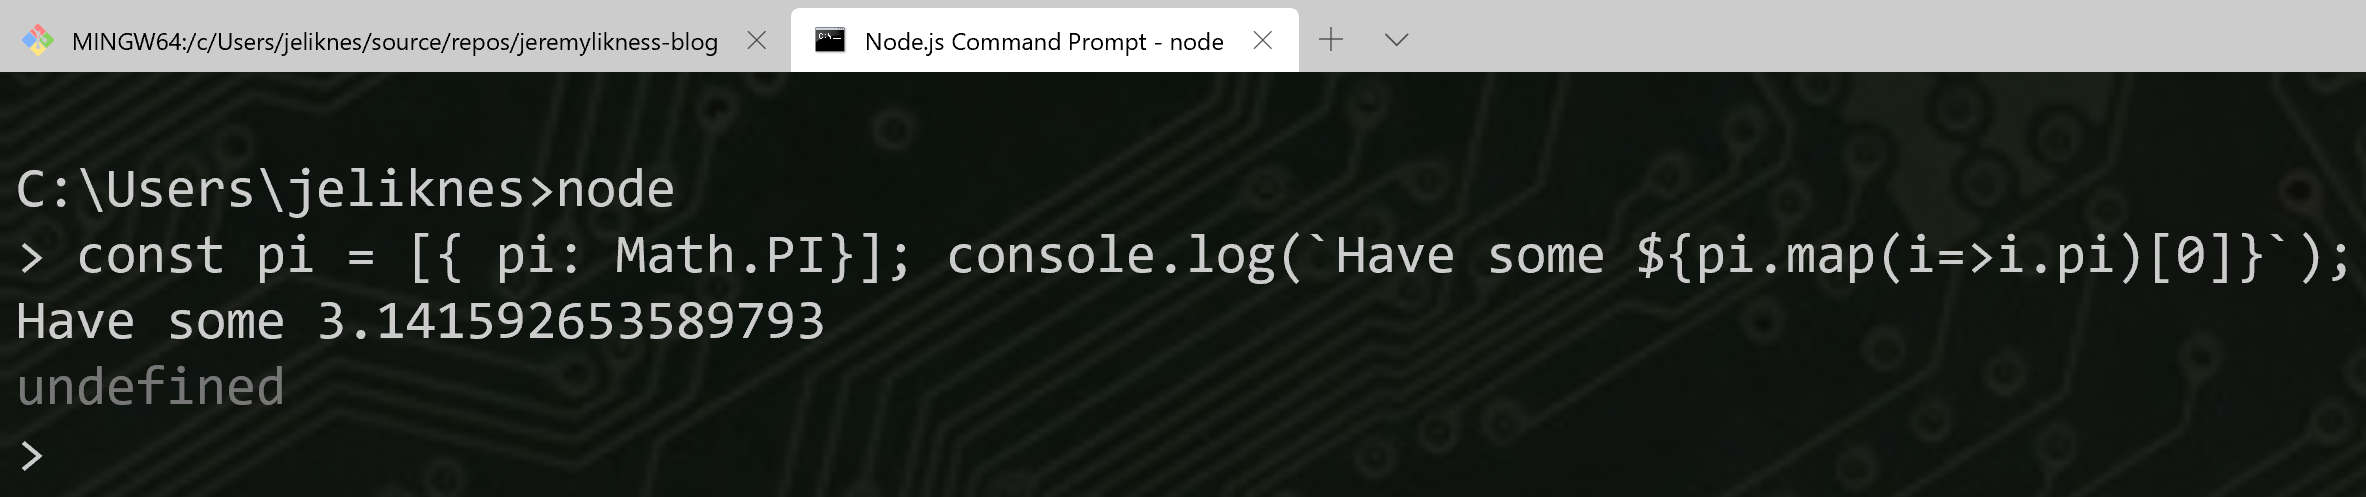
}A quick test shows it works!
Windows Terminal is flexible enough that I use it exclusively now outside of Visual Studio Code.
Do you use Windows Terminal? What is your favorite custom look, feel, or terminal?
Regards,

Related articles:
- Azure Cosmos DB With EF Core on Blazor Server (Azure)
- Deep Data Dive with Kusto for Azure Data Explorer and Log Analytics (Azure)
- Introduction to Azure Cloud Shell (Azure CLI)
- MongoDB on Windows in Minutes with Docker (Windows)
- The Year of Angular on .NET Core, WebAssembly, and Blazor: 2019 in Review (Azure)